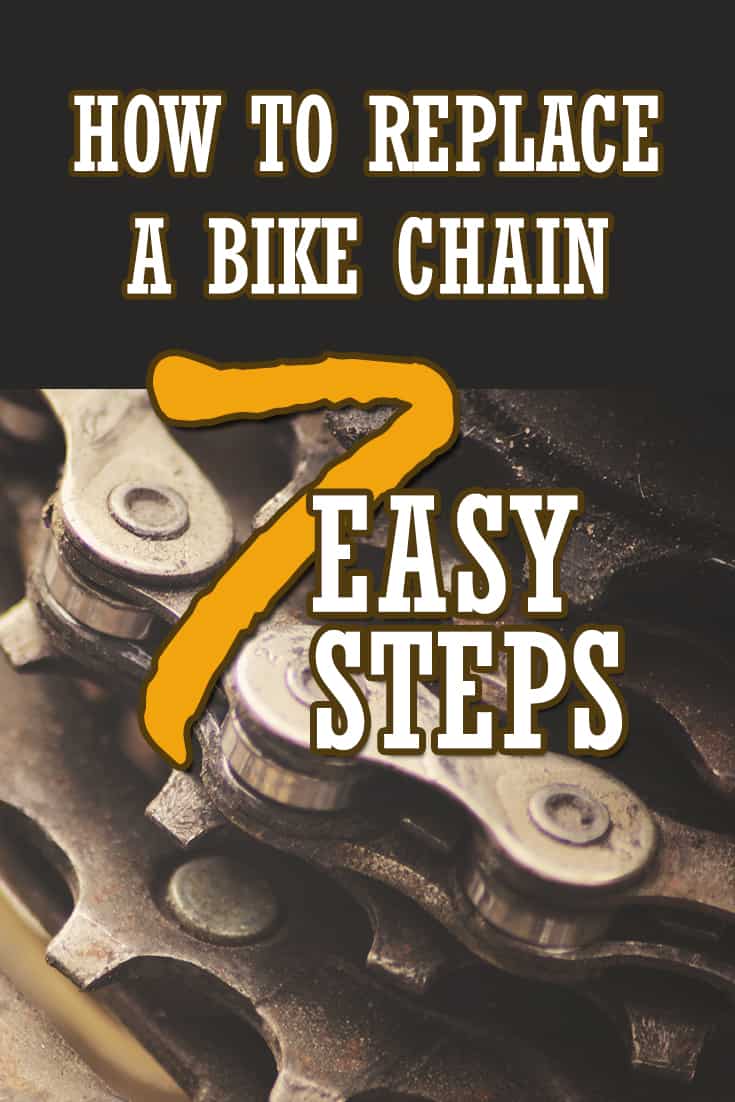
- How to Replace a Bike Chain: 7 Easy Steps - February 4, 2018
If you’re an avid cyclist, then your bike is surely important to you. And as it is the case with anything that matters, you need to take good care of it. This covers everything from how you ride it to how often you perform maintenance checks on it.
Replacing Your Bike Chain: A Quick Guide
To preserve the well-being of your bicycle over time, a lot of its moving parts will need occasional maintenance and even replacing. One of the most common parts to replace on a bike is the chain. Fortunately this is an easy repair to do yourself. Here is how to do just that in seven comprehensive steps, applicable to any type of bike.
1. Measure It for Wear
The first step is to determine whether you should replace your chain in the first place. What you need to do is measure it for wear. You can do this with a chain wear tool. If the reading on it is positioned between 0.5 and 0.75, then the component needs to be replaced. And if it’s even higher than 0.75, you might want to consider a new cassette as well.
This can also be done without any specialized instrument. Just take a good, old-fashioned ruler or some measuring tape. According to Bike Radar, all 12 links should ideally amount to no more than 308mm from pin to pin. Anything higher and the chain needs to be replaced as soon as possible.
If you're not sure if your chain still qualifies, get this helpful tool from Competitive Cyclist. Built out of precision laser-cut steel, this little beauty reliably tells you whether your chain is fresh and ready to roll, or stretched and ready to destroy your expensive cassette.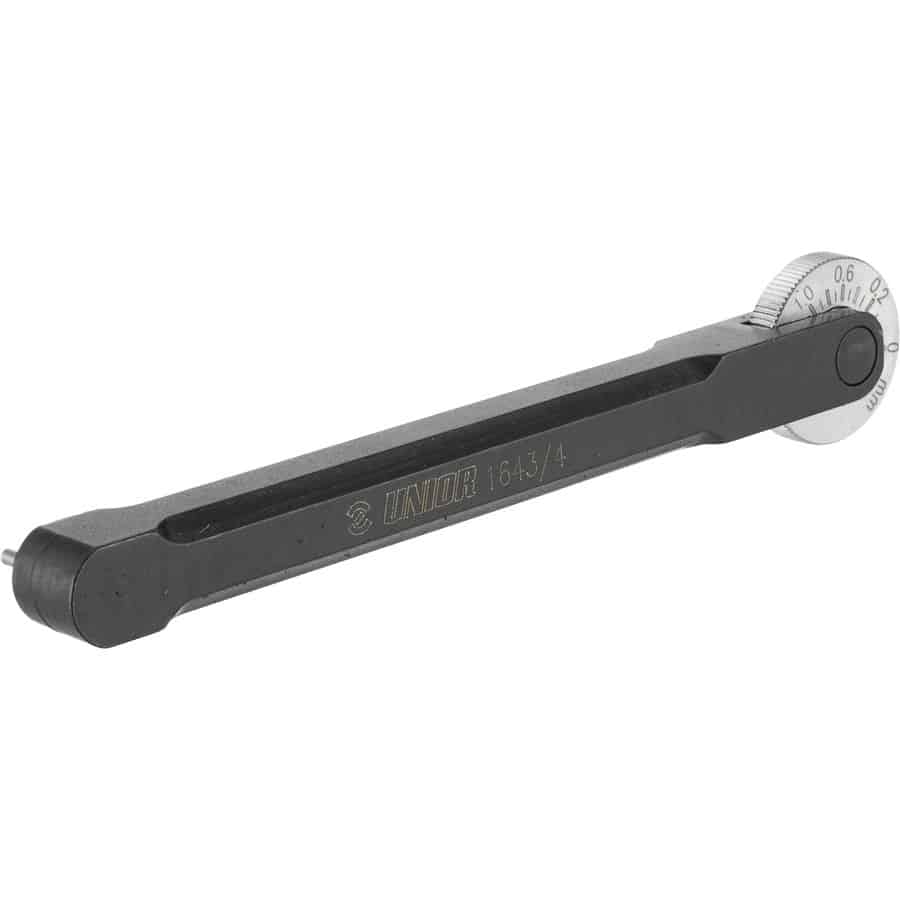
![]()
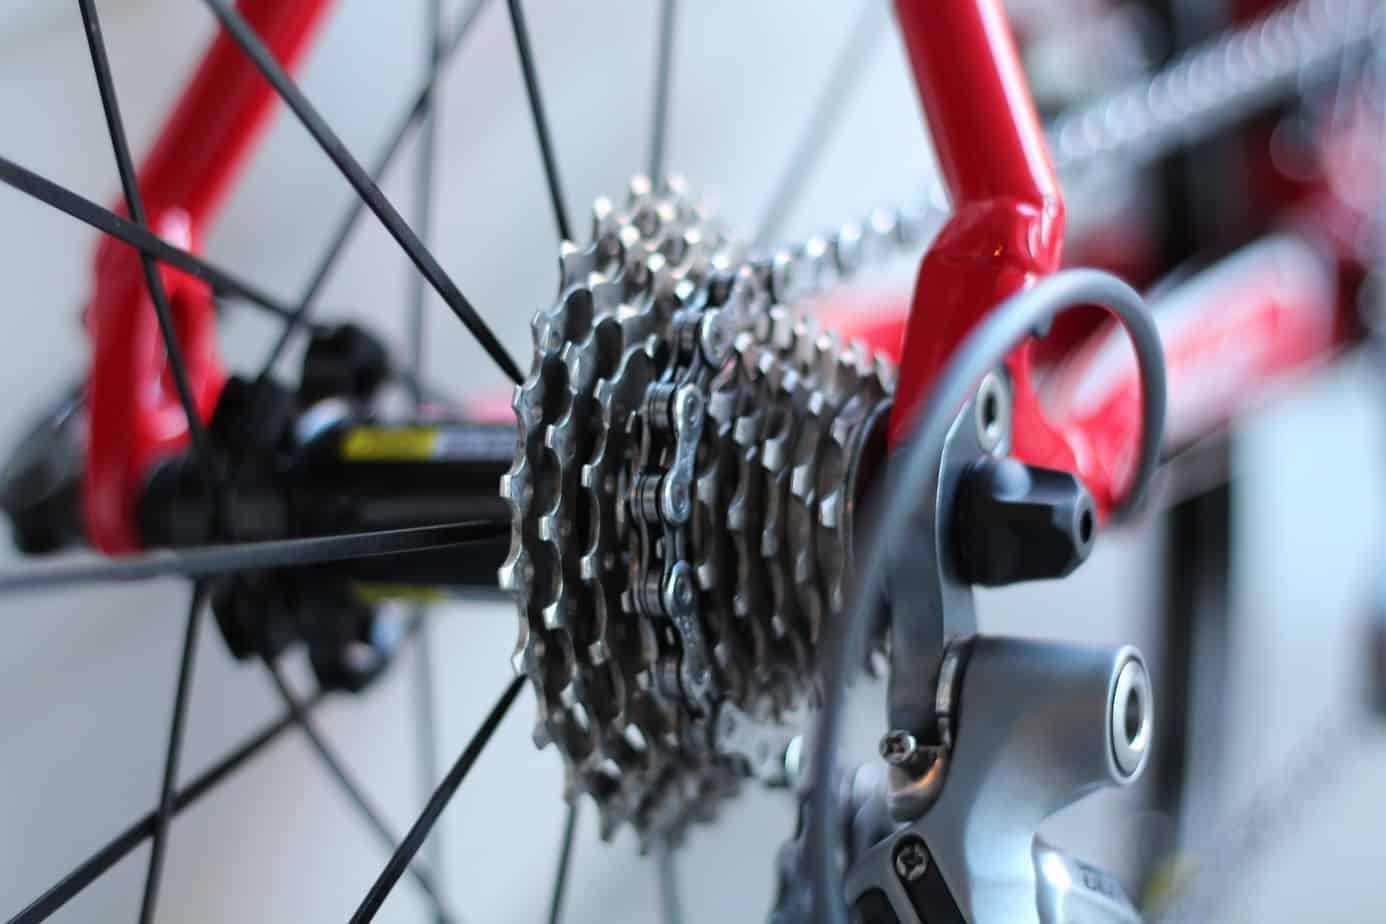
2. Buy a New Chain
As you might already know by now, there are specific chains for specific bicycle speeds, so be sure to buy a new chain that is compatible with your drivetrain. And if you have the budget for it, don’t shy away from high-end options. They usually have a special layer of anti-rust coating and they’re also made of stainless steel and are lighter.
Whether you're building up a brand new dream machine or replacing a chain that has seen better days, get one from a trusted cycling shop - Competitive Cyclist.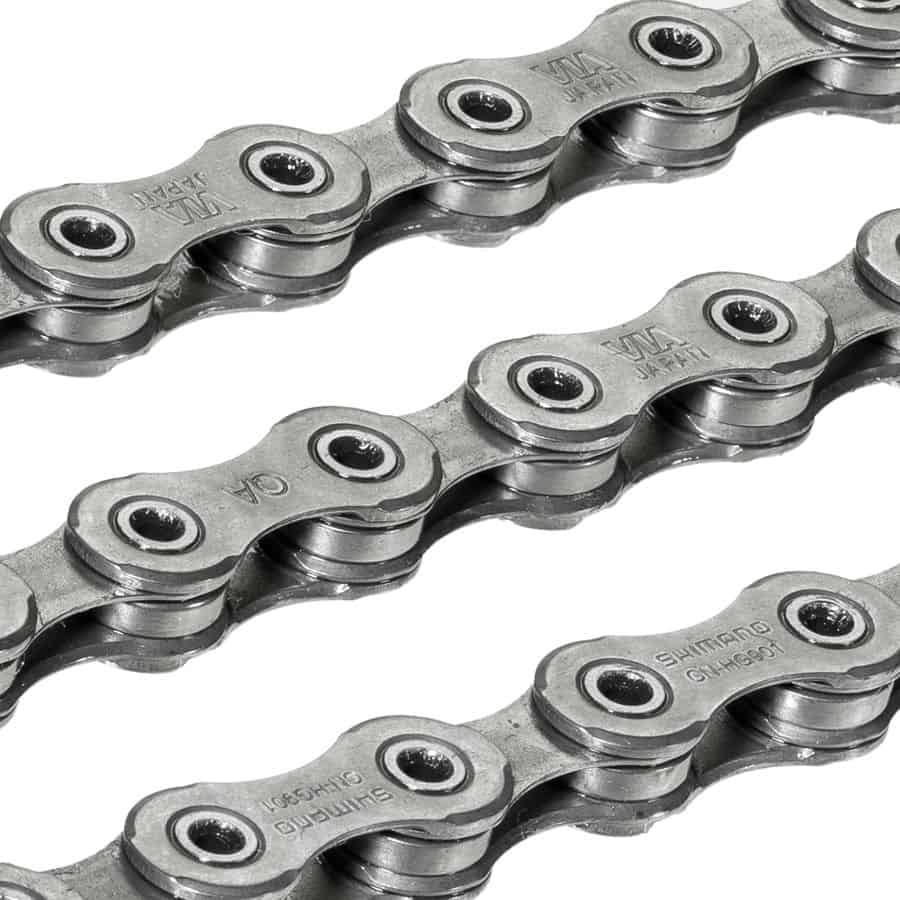
![]()
3. Get Your Tools
Specialize tools are required for the job, such as a chain tool. You will need either a replacement pin or a master link, plus a special pair of pliers for the latter. It is possible to replace a bike chain without a master link or even a pin, but more information on that will follow shortly.
This must-have tool is compatible with all modern drivetrains, including but certainly not limited to 11-speed systems from SRAM, Shimano, and Campagnolo.
![]()
4. Remove Old Chain
Depending on the type of chain you have, there are two ways to break it. For one with no master link, you will need a chain tool. Align its pin with that of a link and pull them apart.
A DIY alternative would be to place the entire part on a wooden board with a hole drilled inside it. Place the rivet you want to remove and hammer a nail through, but not entirely. For one with a master link, use the pliers to squeeze its two pins together until they pop open.
5. Trim the New One
Your new chain will most likely be way too long, therefore you need to trim it first. There are two ways to do this. You can either place it next to the old one and remove the excess or if that’s not possible measure it directly on the chainring. To do this, first shift to the big ring and biggest cog, then run it through the front derailleur and the big cog in the back by draping it. Some higher end chains are one-directional, so take this into account when installing the new chain.
Pull the two ends together tightly and leave two extra full links. Shimano varies from SRAM, campagnolo and KMC, so be sure to install them based on the manufacturer’s recommendations. Remove the excess. However, be careful and make sure that the two remaining ends are suited to connect to one another. Remember that the only way to do this is by intertwining the outer plate of one with the inner plate of the other.
6. Install It Accordingly
Again, depending on what type of chain you have, there are two different ways to go about the installation process. But the essential stays the same, namely that you have to thread it back through the derailleur in the rear and reconnect it, paying close attention to the pulley wheels.
For a chain without a master link, use the new pin it comes with. Insert it halfway, then use pliers to cut off the protruding end. And for one with it, insert each half on each side and pull it all together, then use a specialized tool to snap it into place. If you don’t have one on hand, use your bike’s capacity to do so.
Lock in the master link to the best of your abilities, then release the clutch from the rear derailleur and use your pedals to place the piece on top of the drivetrain. Then, tension the chain by stepping hard and engaging the brakes. This will click the entire mechanism into place.
7. Take Care of It
This final step should go without saying. You need to take proper care of your brand-new chain to preserve its lifespan. Don’t take it for granted, even if it’s an expensive one that should theoretically last you way longer. Lube it regularly, especially if you live in an area where it rains a lot. Getting into the habit of quickly wiping it down with a rag after every ride will also increase its lifespan.
This best-selling lube provides a durable coating that helps repel water and mud, and helps protect bike's chain to extend its life.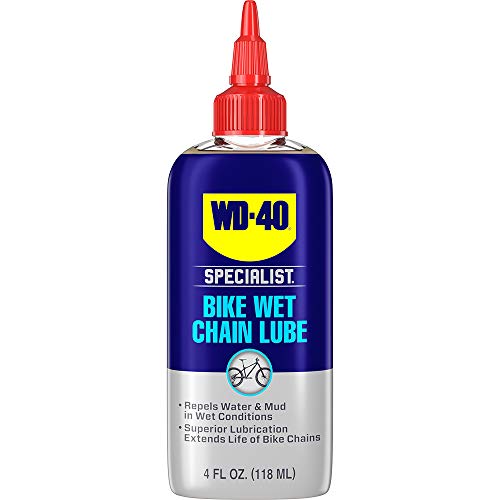
![]()
Conclusion
When approached correctly, the process of replacing your bike chain becomes easy. This comprehensive guide should offer you all the information you need. However, if you feel that things are getting too complicated, always request professional assistance.
Author Bio: Amanda Wilks is a writer, contributing author for Mountain Bike Reviewed, and veteran MTB rider. Before embarking on a cycling adventure, Amanda likes to prepare herself (and her bike) for the unexpected. She believes that bike maintenance is essential, and every biker should learn a few bike repair techniques before anything else. Visit Amanda’s Twitter for more of her writings.