- The Ultimate Guide to Women’s Specific Bikes - October 5, 2021
- Top Road Bikes Under $1000: Grab More Speed for Less Cash - October 5, 2021
- Get Fast! 8 Top Carbon Fiber Road Bikes Under $2,000 - October 5, 2021
Whether you’re replacing your pedals to go clipless, removing them for maintenance or packing up a bike to ship it, eventually you’ll need to know how to remove and replace bike pedals.
Level of difficulty: Easy
Necessary tools:
- 8mm Hex key/Allen wrench or
- Pedal wrench
- Cone wrench will also work, but is not preferred (more below)
- Lube for pedal installation
Pro Tip:
Bike pedal threads differ from right and left.
The right side pedal (or drive side because it’s on the same side as the chain rings) has a right-hand thread and is removed by turning it counterclockwise. It’s installed by turning it clockwise.
The left side pedal is left-hand threaded and is removed clockwise and installed counter-clockwise.
An 8mm Allen key is usually the best tool to remove and replace pedals
Just remember that the drive side crank is logical in that it is reverse threaded and the old Lefty Lucy, Righty Tighty applies here. The Non drive side pedal is illogical and turns the opposite way. So why aren’t both bicycle pedals threaded the same way? If they were, it would be easy to unscrew them while pedaling.
Here’s an easy trick to remember how to remove bike pedals: You’ll always position the wrench or Allen key so that the handle is pointing toward the rear of the bike. From there, you’ll always push the handle down.
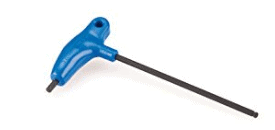
These thoughtfully designed P-handled hex wrenches fit the task at hand, as well as they fit in your hand. The long shaft of each wrench is fitted with a Bondhus Balldriver for those hard to reach bolt heads.
How to tell right and left pedals apart
Many pedals are labeled with an “R” and “L” to help tell them apart. If they aren’t labeled, you can look at the threads to tell right from left. The thread will slope up toward the direction it’s tightened in.
Necessary Tools
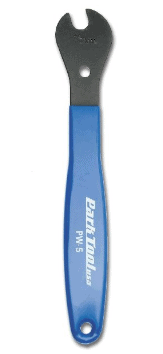
If your pedals don’t have a hexagonal hole for an Allen key in the backside of the pedal thread, you’ll need to use a pedal wrench. Most flat (non-clipless) pedals fall into this category.
In a pinch, a traditional wrench should do the job, however a pedal wrench is ideal because it has a longer handle to provide the necessary leverage. If using a traditional wrench, just be careful not to scratch the crank arm as you apply force.
Related: Essential Bike Tools: Buyer’s Guide for the Beginner Mechanic
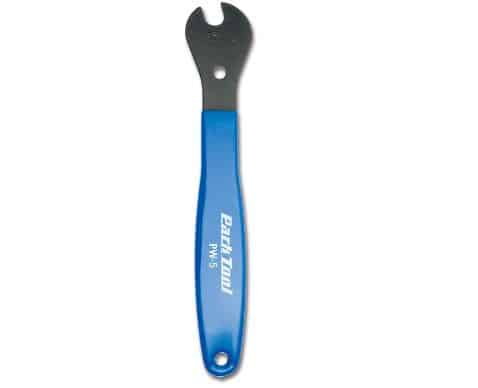
Whether you're swapping pedals, removing them for storage or transportation, or just making sure they're tight, a pedal wrench is a fundamental tool for any bicycle owner's toolbox. The Park Tool PW-5 is perfectly designed to securely engage the narrow 15mm wrench flats found on bike pedals while providing the leverage needed to fully tighten pedals.
Purpose-built wrenches for adjusting bicycle wheel hubs. Build to professional-grade standards, with precision sizing and an industrial phosphate finish.
How to Remove Bike Pedals with an Allen Wrench
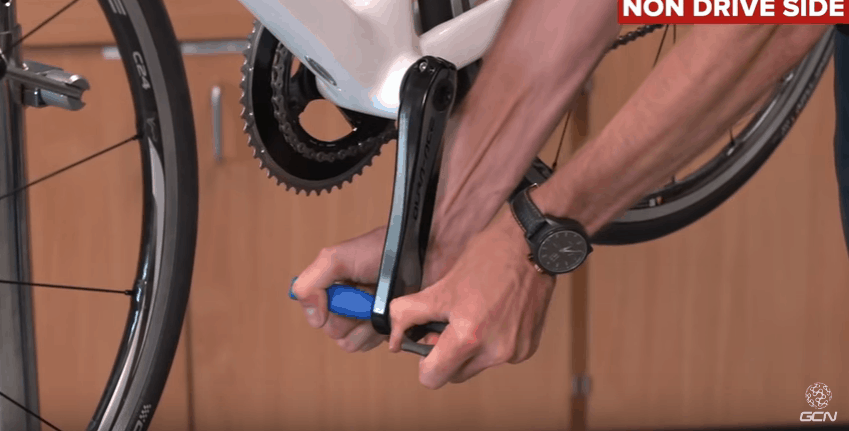
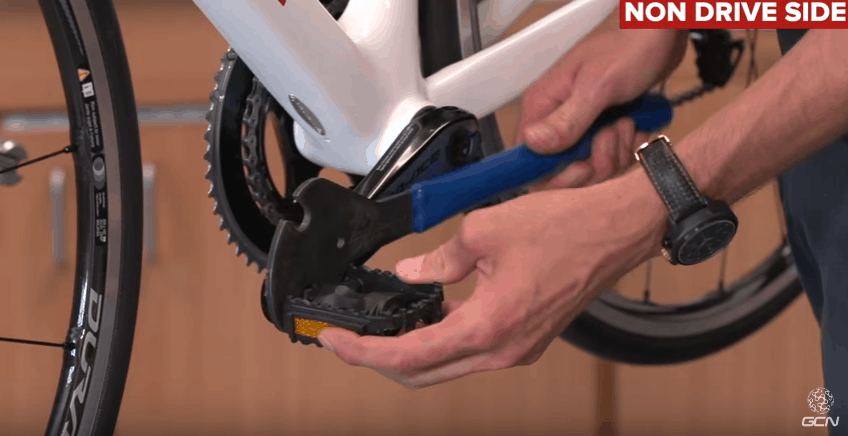
To remove the non drive side (left) pedal:
- Place the bike in a stand, non drive side facing out, and shift into the largest chainring (to prevent impaling yourself!).
- Position the crank arm so that it is in the 6 o’clock position
- Insert the small end of the Allen key in the backside of the crank arm, with the long end of the Allen key pointing toward the back of the bike.
- Using your right hand, push down on the Allen key, turning it clockwise to loosen the pedal. At the same time, position your left hand so it grasps the pedal, preventing it from spinning forward.
- Finally, turn the Allen key around, inserting the long end into the backside of the pedal and turn it clockwise until the pedal comes off.
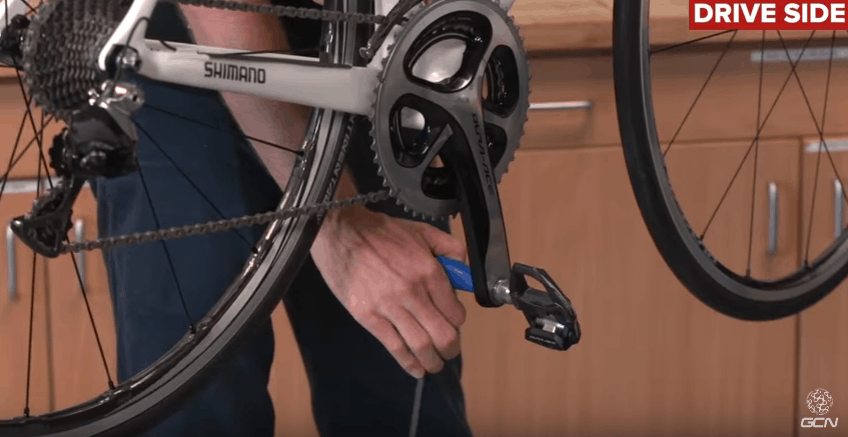
To remove the drive side pedal:
- Move to the opposite side of the bike.
- Repeat the same steps as above.
How to Replace Bike Pedals with an Allen Wrench
One of the most important things to remember when installing a bike pedal is to ensure both contact points are clean and to lube the spindle first. This will save you from trying to remove a seized pedal later on.
- Grease the threads of the pedal and note which side is right and which is left.
- To install the right drive side pedal, position your body so that you’re facing the rear of the bike. Line up the pedal spindle with the crank arm, holding it in your left hand.
- Grasp the long end of the Allen key with your right hand and turn it counter clockwise.
- Then, using the short end of the Allen key, tighten the pedal.
- Repeat on the left, non-drive side by turning the Allen wrench clockwise to tighten the pedal.
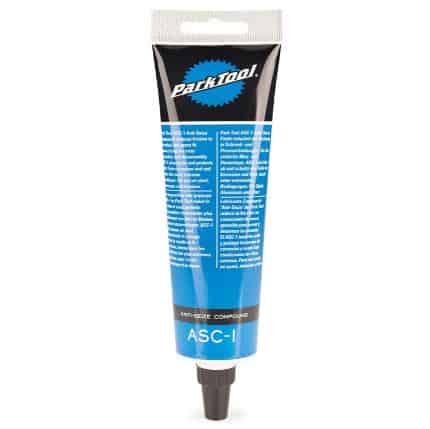
Reduces friction in threaded and press-fit connections for easy assembly and disassembly. Seals and protects parts from corrosion and rust under the most extreme conditions.
How to Remove Bike Pedals with a Wrench
- Insert the wrench between the pedal and crank arm. Turn the pedal so that both pedals are at 90 degrees.
- Position the wrench at 90 degrees with the long arm facing the back of the bike. Holding the wrench in your right hand, grasp the pedal with your left hand.
- Apply downward pressure to the lever, while steadying the pedal, until it loosens enough to unscrew it.
How to Install Bike Pedals with a Wrench
- On the drive side: Insert the right pedal into the crank arm and screw it clockwise
- Hold the pedal in your right hand and grasp the wrench in your right with the handle pointing toward the front wheel.
- Moving in a clockwise direction, tighten the pedal.
- Repeat on the non-drive side, screwing the pedal in counterclockwise.
- Finally, position the wrench with the handle pointing toward the front wheel, giving it some elbow grease until it’s tight.
Check out Global Cycling Network’s video for further instructions:
How to Remove Stuck Bike Pedals
Bicycle pedals can be difficult to remove for a variety of reasons: a lack of lubricant on the spindles, corrosive weather like rain and road salt or just over-tightening them in the first place.
The easiest thing to check is that you’re turning the wrench in the correct direction. Remember the non-dive side turns clockwise to loosen the pedal.
You can also try applying some spray lubricant to loosen any corrosive material in the pedal and then using a rubber mallet to gentle tap on the end of the wrench once it’s inserted. This provides some extra leverage.
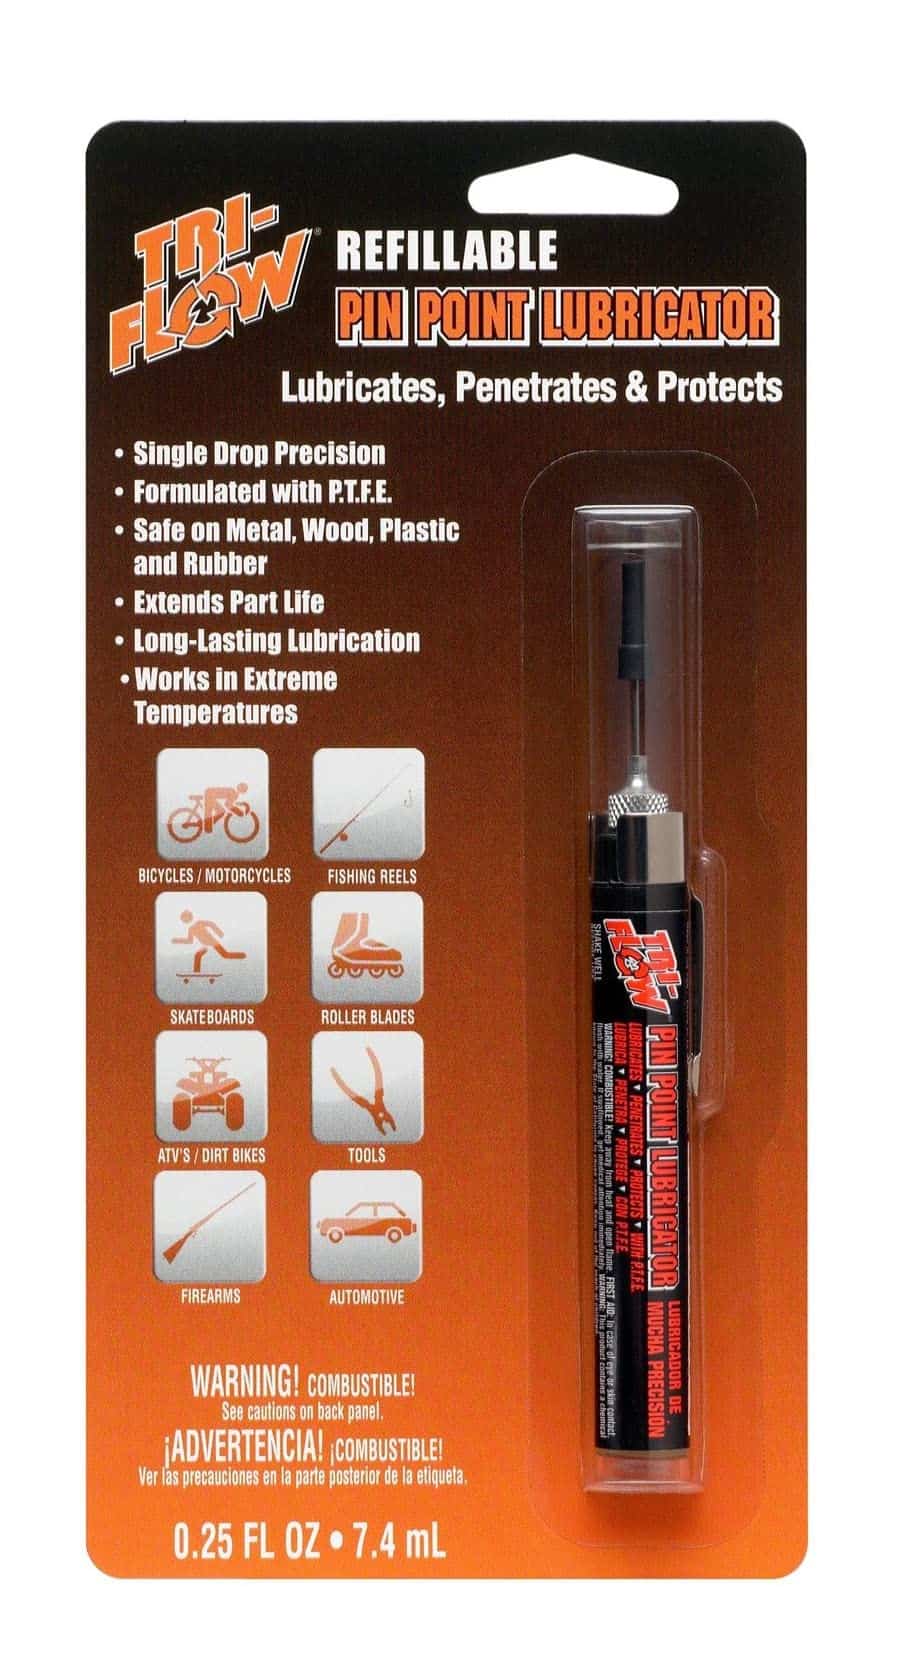
The formulated solvents clean, soften and remove contaminants while the light viscosity oils ensure deep penetration into hard to reach moving parts.
Related: Complete Guide to Clipless Pedals: How to Get Started Now
Related: Get Fast! How to Find the Best Wheels for Your Road Bike
Sources: Wikibooks, Park Tool Blog
Images: Global Cycling Network


